Original page link: https://openchannelssd.readthedocs.io/en/latest/
1. Install supported Linux Kernel and boot as it
LightNVM is directly supported in Linux since kernel 4.4. Pblk, which is used to get started, is available since 4.12+. Make sure to install 4.12+ or later if you want to use pblk.
To use Open-Channel SSDs, support in the operating system kernel is required. Support in the Linux kernel has been supported since 4.4 with the inclusion of the LightNVM subsystem. The project is still under development, therefore the latest release or release candidate is preferred. The latest source code is available at https://github.com/OpenChannelSSD/linux.
- Tips:
git clone -b pblk.cnex https://github.com/OpenChannelSSD/linux.Like above script, you have to use pblk.cnex branch in the Linux repository witch has couple of extra patches. you can see an issue about this here: https://github.com/OpenChannelSSD/liblightnvm/issues/7
When you compile Kernel, make sure that the .config file at least includes:
    CONFIG_NVM=y
    # Expose the /sys/module/lnvm/parameters/configure_debug interface
    CONFIG_NVM_DEBUG=y
    # Target support (required to expose the open-channel SSD as a block device)
    CONFIG_NVM_PBLK=y
    # For NVMe support
    CONFIG_BLK_DEV_NVME=y
After booting the a supported kernel. The following must be met:
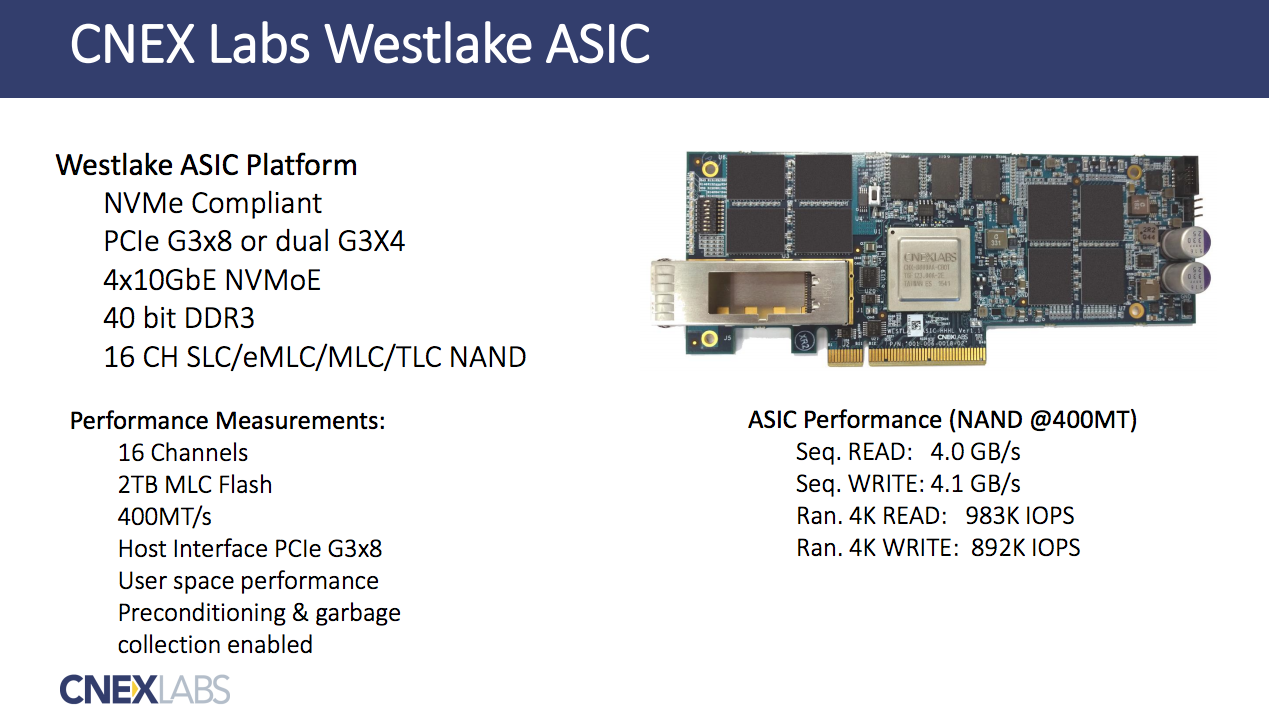
- A compatible device, such as QEMU NVMe or an Open-Channel SSD, such as the CNEX Labs LightNVM SDK.
- A media manager on top of the device driver. The media manager manages the partition table for the device.
- A target on top of the block manager that exposes the Open-Channel SSD.
- Tips:
You don’t have to concern #2 becasue it is deprecated since 4.8. you can see an issue regarding this here: https://github.com/OpenChannelSSD/documentation/issues/5
2. Install nvme-cli tool
nvme-cli is the tool used to administrate nvme devices. It can be installed typing like
git clone https://github.com/linux-nvme/nvme-cli
cd nvme-cli
sudo make; sudo make install

sudo add-apt-repository ppa:sbates
sudo apt-get update
sudo apt-get install nvme-cli
or installed from https://github.com/linux-nvme/nvme-cli
If you are not running Ubuntu, please see the nvme-cli github project for instructions.
3. Using Open-Channel SSD hardware
If you have a LightNVM SDK from CNEX Labs, or another Open-Channel SSD, you should be able to see the device using
sudo nvme lnvm list
which should output the following:
nvme lnvm list
Number of devices: 1
Device      	Block manager	Version
nvme0n1     	gennvm      	(0,1,0)
4. Instantiate media manager and target
When the installation is finished and the kernel have been booted. Devices can be enumerated by:
sudo nvme lnvm list
and initialized by:
sudo nvme lnvm init -d nvme0n1
sudo nvme lnvm create -d nvme0n1 --lun-begin=0 --lun-end=3 -n mydevice -t pblk
use the option -f to avoid recovering the L2P table from the device for quick initialization
sudo nvme lnvm create -d nvme0n1 --lun-begin=0 --lun-end=3 -n mydevice -t pblk -f
or
sudo nvme lnvm create -d /dev/nvme0n1 -n mydevice -t pblk -b 0 -e 127
for other options for –help on each command. For example sudo nvme lnvm create –help
Assuming nvme0n1 was shown during “nvme lnvm list”, it will then expose /dev/mydevice as a block device using it as the backend. Please note that pblk is only available at the Linux kernel Github repository, and it yet to be upstream.
5. Mount and use
If you get here without any error, you can mount the device and use it like:
sudo mkfs -t ext4 /dev/mydevice
sudo mkdir /media/nvme
sudo mount /dev/mydevice /media/nvme
you can see “nvme” directory created and mounted to /dev/mydevice
5. Extra
At first time, I used Ubuntu 16.04 Desktop. There are some problem like a kernel panic or taking forever for mkfs. So, I changed and use 16.04 server.